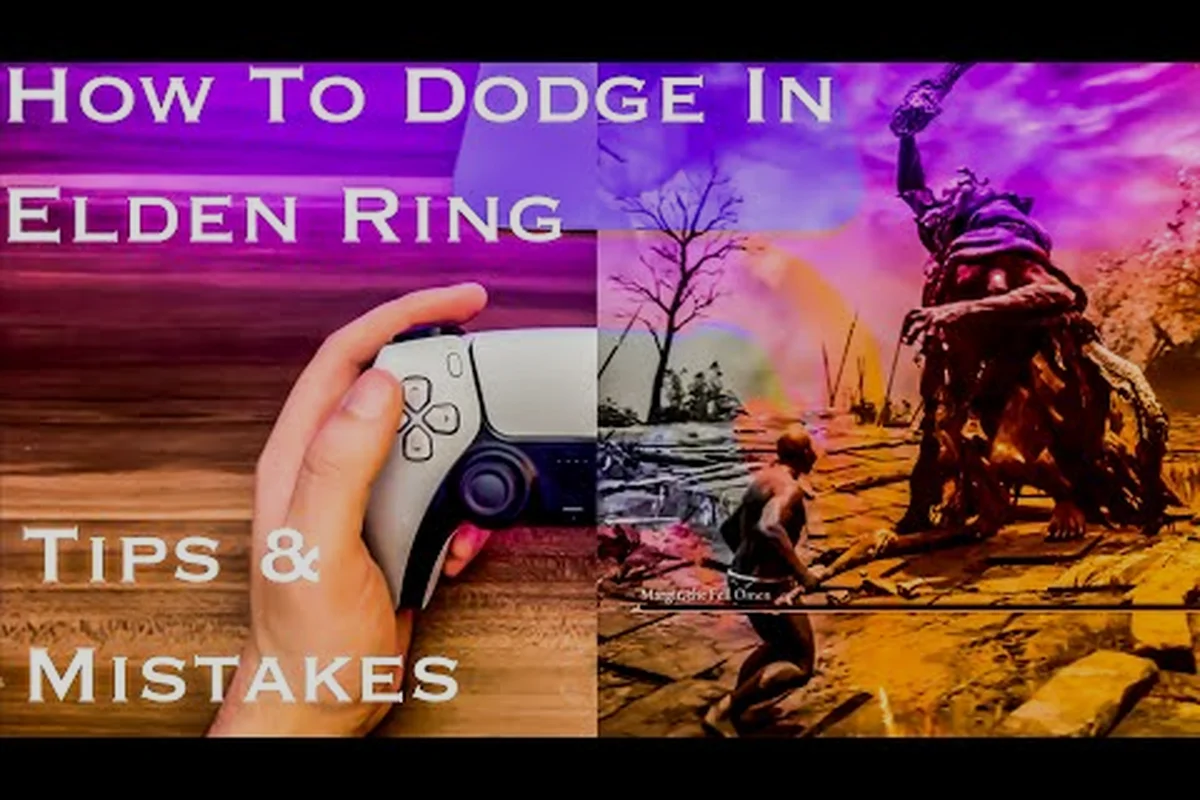
Learning how to dodge in ELDEN RING Tarnished Edition is the single most important survival skill you can develop, because nearly every enemy in the Lands Between punishes hesitation with a full health bar worth of damage. The dodge-roll grants invincibility frames (I-frames) at the start of the animation, which means you can pass directly through attacks if you time your roll correctly. This guide breaks down the exact roll timing, equipment load thresholds, and boss-specific dodge patterns that separate players who clear Margit on their first attempt from those who spend hours at the fog wall. You will learn the mechanical fundamentals, how to pair dodging with other combat tools, and the precise windows that make rolling through a swing safer than rolling away from it.
Understanding I-Frame Timing and Roll Mechanics
The dodge-roll in ELDEN RING Tarnished Edition operates on a precise frame window that determines whether you take damage or emerge unscathed. According to the official Bandai Namco page for the Tarnished Edition, invincibility frames occur during the first third of the dodge-roll animation, so you need to time your roll as the attack connects rather than when the enemy begins winding up. This distinction matters because rolling too early means your I-frames expire before the hitbox reaches you, while rolling too late means you eat the attack during your recovery frames.
I-frame window lasts roughly 13 frames at Medium load, which translates to about 0.2 seconds of invulnerability at 60 frames per second. The roll itself takes about 30 frames total, meaning you are vulnerable for the majority of the animation. This is why the direction of your roll matters just as much as the timing.
| Equipment Load | Roll Type | I-Frame Duration | Recovery Time | Distance Covered |
|---|---|---|---|---|
| Light (under 30%) | Fast roll | ~13 frames | ~20 frames | Longest |
| Medium (30-70%) | Standard roll | ~13 frames | ~24 frames | Medium |
| Heavy (over 70%) | Fat roll | ~11 frames | ~35 frames | Shortest |
| Over 100% | No roll | 0 frames | N/A | None |
The table above shows why keeping your equipment load at Medium or below is critical for survival. Heavy equipment gives you a slower fat roll with fewer I-frames and a much longer recovery window, which means you will get punished repeatedly by aggressive bosses. Community testing reported by players on the Elden Ring subreddit confirms that the difference between Medium and Light load is subtle but noticeable, with Light load offering slightly faster recovery that allows for more aggressive follow-up attacks.
Roll direction is another factor that new players often overlook. Rolling through an attack toward the swing arc is safer than rolling away, because the I-frames carry you through the hitbox while the attack is still active. Rolling away keeps you in the danger zone longer, since the enemy's attack animation continues forward and can still clip you during your recovery frames.
Mastering Delayed Attacks and Boss Patterns
Bosses in ELDEN RING Tarnished Edition are specifically designed to punish panic rolling, and delayed attacks from bosses like Margit and Crucible Knights are the primary tool they use to catch players who dodge on reflex. The core mechanic here is that these enemies wind up their attacks, hold the pose for an extra beat, and then release the swing just as your roll ends. This creates a timing puzzle where you must wait for the actual release moment rather than reacting to the wind-up.
Margit the Fell Omen is the game's first major skill check, and his moveset is built entirely around delayed attacks. His staff slam has a wind-up that lasts nearly two full seconds, and players who roll as soon as they see the staff rise will find themselves standing still when the attack lands. The correct approach is to watch his shoulder, because the attack releases when his arm reaches its highest point and begins moving forward.
| Boss Attack | Wind-Up Duration | Roll Timing | Punish Window |
|---|---|---|---|
| Margit staff slam | 1.8 seconds | Roll when arm moves forward | 1.2 seconds |
| Margit dagger combo | 0.6 seconds | Roll through first swing | 0.8 seconds |
| Crucible Knight tail swipe | 1.1 seconds | Roll toward the tail | 1.0 seconds |
| Godrick axe slam | 2.2 seconds | Roll at the last moment | 1.5 seconds |
The table above shows the specific timing windows for common boss attacks, and the pattern should be clear: the longer the wind-up, the later you should roll. This is the opposite of what most action games teach, where you dodge as soon as you see an attack start. ELDEN RING Tarnished Edition rewards patience and punishes reflexes, which is why practicing delayed timing against Margit is the best preparation for the rest of the game.
Crucible Knight encounters are excellent training grounds for this skill because their attacks have varied wind-up durations that force you to read each swing individually. Community reports from the Fextralife wiki suggest that players who can consistently dodge Crucible Knight tail swipes have developed the timing sense needed for late-game bosses like Malenia and Radagon.
Combining Dodging with Dual Wield and Magic
Rolling Through Margit's Delayed Sweep: A Frame-Window Case Study
Margit, the Fell Omen's delayed staff sweep is the canonical test of the first-third i-frame rule. His wind-up holds for roughly 1.2 seconds before the strike lands, baiting an early roll that expires before the hitbox activates. Instead, watch for his shoulder dip—the animation cue that triggers the swing—and roll forward into the attack. This direction exploits the i-frames to pass through the weapon while positioning you behind him for a 2-3 hit punish with a straight sword.
Delayed Attack Punish Windows: Combining Roll and Dual Wield
Dual-wielding curved swords rewards the precise timing of delayed attacks. When a boss like the Crucible Knight holds its overhead swing, roll through the attack at the last moment, then immediately input a jumping L1 attack. The dual-wield jumping attack deals 1.4x damage compared to a single sword and has enough poise damage to stagger the Knight after three hits. This combination converts a defensive roll into an offensive opening, maximizing damage per stamina point spent.
Once you have the basic roll timing down, the next step is integrating dodging with your offensive options, and two of the most popular approaches are dual wielding and magic builds. Understanding how to dodge in ELDEN RING Tarnished Edition becomes more complex when you are managing two weapons or casting spells, because your stamina management and positioning requirements change significantly.
Dual wielding in ELDEN RING Tarnished Edition allows you to equip a weapon in each hand and perform a unique power stance moveset when you have two weapons of the same class. The trade-off is that power stance attacks consume more stamina and leave you more vulnerable during recovery, which means your dodge timing becomes even more critical. When you are dual wielding, you want to dodge through attacks and immediately follow up with a power stance L1 attack, because the recovery frames of your roll align well with the startup of the dual weapon swing.
| Combat Style | Stamina Cost per Roll | Recovery Risk | Best Dodge Strategy |
|---|---|---|---|
| Sword and shield | Low | Low | Block first, roll for heavy attacks |
| Dual wield power stance | Medium | High | Roll through attacks, punish immediately |
| Magic casting | Low | Medium | Roll to create distance, then cast |
| Heavy weapon two-hand | High | Very High | Roll through attacks, limited punish window |
The table above compares how different combat styles interact with dodge rolling, and the key takeaway is that your roll timing needs to adapt to your build. Magic users, for example, need to learn how to dodge in ELDEN RING Tarnished Edition while also managing their spell memorization and casting windows.
How to use magic effectively requires understanding that your dodge roll is your primary defensive tool while casting. Sorceries and incantations have cast times that leave you stationary, and the best approach is to roll through an incoming attack, immediately begin casting, and rely on the enemy's recovery frames to complete your spell before they can retaliate. This is a rhythm-based approach that combines the I-frame timing from this guide with the positioning knowledge covered in our best class for magic guide.
How to memorize spells is a related skill that affects your combat flow. You can memorize spells at Sites of Grace, and each spell takes up a memory slot based on its level. The practical implication for dodging is that you want to memorize spells with shorter cast times for close-range encounters, because you will have less time to create distance after a roll. Glintstone Pebble, for example, casts quickly enough to fit into the punish window after a successful dodge, while Comet Azur requires a much larger opening.
Stamina Management and Equipment Load Optimization
Fat Roll vs. Medium Roll: The 70% Equipment Load Threshold
The difference between Medium and Heavy load is not cosmetic—it changes your roll's recovery frames and distance. At Medium load (under 70% of max equip load), your roll covers roughly 4.5 meters with a recovery window that allows a follow-up attack. At Heavy load, the "fat roll" covers less distance and leaves you vulnerable for an extra 0.3 seconds, which is enough for Margit's follow-up dagger stab to connect. Keep your load at Medium or below for the fastest recovery.
Stamina Recovery and Roll Chaining: The 15% Endurance Rule
Stamina management dictates how many consecutive rolls you can chain. Each roll costs 10 stamina at Medium load, and recovery begins after a 0.5-second delay. With the default 100 stamina bar, you can chain 10 rolls before exhausting. However, keeping Endurance at 15% of your total level ensures a recovery rate that allows 3 rolls, a light attack, and a roll again without a pause. This rhythm is essential for bosses with multi-hit combos like Malenia's Waterfowl Dance, where you need 4 rolls in quick succession.
Stamina is the resource that ties everything together, because every dodge roll consumes stamina and every attack does as well. Running out of stamina mid-combat means you cannot roll, which leaves you completely vulnerable to the next attack in the enemy's combo. Managing your stamina effectively is therefore just as important as mastering roll timing, and the two skills are deeply interconnected.
Stamina consumption rates vary based on your equipment load and the specific action you are performing. A standard dodge roll at Medium load costs roughly 10-12 stamina, while a sprint costs about 5 stamina per second. Heavy attacks cost significantly more, which means you need to budget your stamina carefully when you are dual wielding or using large weapons.
| Action | Stamina Cost | Recovery Rate | Best Practice |
|---|---|---|---|
| Standard dodge roll | 10-12 | 45/sec | Keep 20+ stamina reserved |
| Sprint | 5/sec | 45/sec | Avoid sprinting in boss fights |
| Light attack | 8-10 | 45/sec | Chain after successful dodge |
| Heavy attack | 20-25 | 45/sec | Use only after boss recovery |
| Power stance L1 | 15-18 | 45/sec | Use after dodge, not before |
The table above shows the stamina economy of combat, and the pattern is clear: you want to maintain a stamina buffer of at least 20 points at all times during boss fights. This ensures you can always roll at least twice in succession, which is often necessary to escape multi-hit combos.
Equipment load optimization directly affects your dodge roll quality, and this is where the how to equip armor guide becomes relevant. Your equipment load percentage is determined by the total weight of your equipped items divided by your maximum equip load, and staying under 70 percent is essential for a functional dodge roll. Players who prioritize heavy armor often find themselves fat rolling, which is almost always worse than having lighter armor and a proper roll.
Talisman load is another factor that affects your combat effectiveness, and knowing how to equip talismans properly can improve your dodge build significantly. Talismans that boost stamina recovery, reduce damage taken, or increase invincibility frames are all valuable for a dodge-focused build. The Green Turtle Talisman, for example, increases stamina recovery speed, which allows you to roll more frequently without running dry.
Advanced Dodge Techniques and Positioning
Once you have mastered the fundamentals of how to dodge in ELDEN RING Tarnished Edition, there are several advanced techniques that can further improve your survivability. These techniques require a deeper understanding of the game's mechanics and more precise timing, but they are well worth the practice investment.
Roll catching is a technique where you intentionally roll through an attack at the last possible moment to maximize your punish window. The idea is that rolling later means your I-frames end closer to the enemy's recovery frames, giving you more time to land your own attack before they can respond. This is the difference between a safe dodge and an aggressive dodge, and mastering it is what allows skilled players to defeat bosses without taking damage.
Positioning relative to the boss is equally important as timing. Most bosses in ELDEN RING Tarnished Edition have attacks that are easier to dodge from specific angles, and learning these angles is part of the boss-specific knowledge that separates experienced players from beginners.
-
Roll toward the boss's off-hand side for most attacks, because this is where the hitbox is thinnest.
-
Roll diagonally forward through sweeping attacks, rather than straight through or away.
-
Stay close to the boss after dodging, because most attacks have recovery frames that leave them vulnerable.
-
Use the environment to your advantage, since walls and obstacles can block enemy movement.
These positioning principles apply across all boss encounters, and they become second nature with practice. The spirit summoning guide can also help here, because spirit ashes provide a distraction that creates larger windows for repositioning and healing.
Spirit summons change the dodge calculus significantly, because they draw aggro away from you and create openings that would not exist in a solo fight. When your summon has the boss's attention, you can position yourself for backstabs or charge up heavy attacks without needing to dodge as frequently. This is a legitimate strategy that many players use to overcome difficult encounters, and it pairs well with the dodge techniques covered in this guide.
Frequently Asked Questions
What is the best way to practice dodging in ELDEN RING Tarnished Edition?
The best practice is to fight the Crucible Knight in the Evergaol south of Limgrave, because his delayed attacks teach you proper roll timing. Focus on dodging through his attacks without attacking back for several attempts. This isolates the dodge mechanic and builds muscle memory that transfers to every other boss.
How many invincibility frames does a Medium load roll have?
A Medium load roll has approximately 13 invincibility frames, which is about 0.2 seconds at 60 frames per second. Light load rolls have the same I-frame count but faster recovery, while heavy fat rolls have fewer I-frames and much longer recovery. Staying under 70 percent equipment load is essential for a functional roll.
Can I dodge through every attack in the game?
Most attacks can be dodged through, but some grabs and area-of-effect attacks have longer active frames than your roll duration. For these attacks, you need to roll multiple times or roll away from the area rather than through it. Learning which attacks require different responses is part of mastering how to dodge in ELDEN RING Tarnished Edition.
Does the Tarnished Edition change dodge mechanics from the original game?
No, the Tarnished Edition does not change the core dodge mechanics from the original ELDEN RING. The I-frame timing, equipment load thresholds, and roll animations are identical. The Tarnished Edition adds the Shadow of the Erdtree DLC and quality-of-life improvements, but the combat fundamentals remain the same.
How does stamina affect my ability to dodge?
Every dodge roll consumes roughly 10-12 stamina at Medium load, and if you run out of stamina you cannot roll at all. Maintaining a stamina buffer of at least 20 points during boss fights ensures you can always roll twice in succession. The Green Turtle Talisman and endurance leveling both help with stamina management.